Ceiling fans are a popular and efficient way to cool and circulate air in a room. However, installing a ceiling fan where no wiring exists can be a challenging task. Without the proper wiring and electrical knowledge, it can be unsafe to attempt the installation. In this article, we will provide a step-by-step guide to help you install a ceiling fan where no wiring exists. With the right tools, preparation, and careful planning, you can enjoy the comfort and energy efficiency that a ceiling fan provides.
Contents
On re-furbishing my home, we created an additional room for kids where there was no existing wiring to install a ceiling fan. On this I found the following details regarding installing a ceiling fan without existing wiring. Let us see them in detail below:
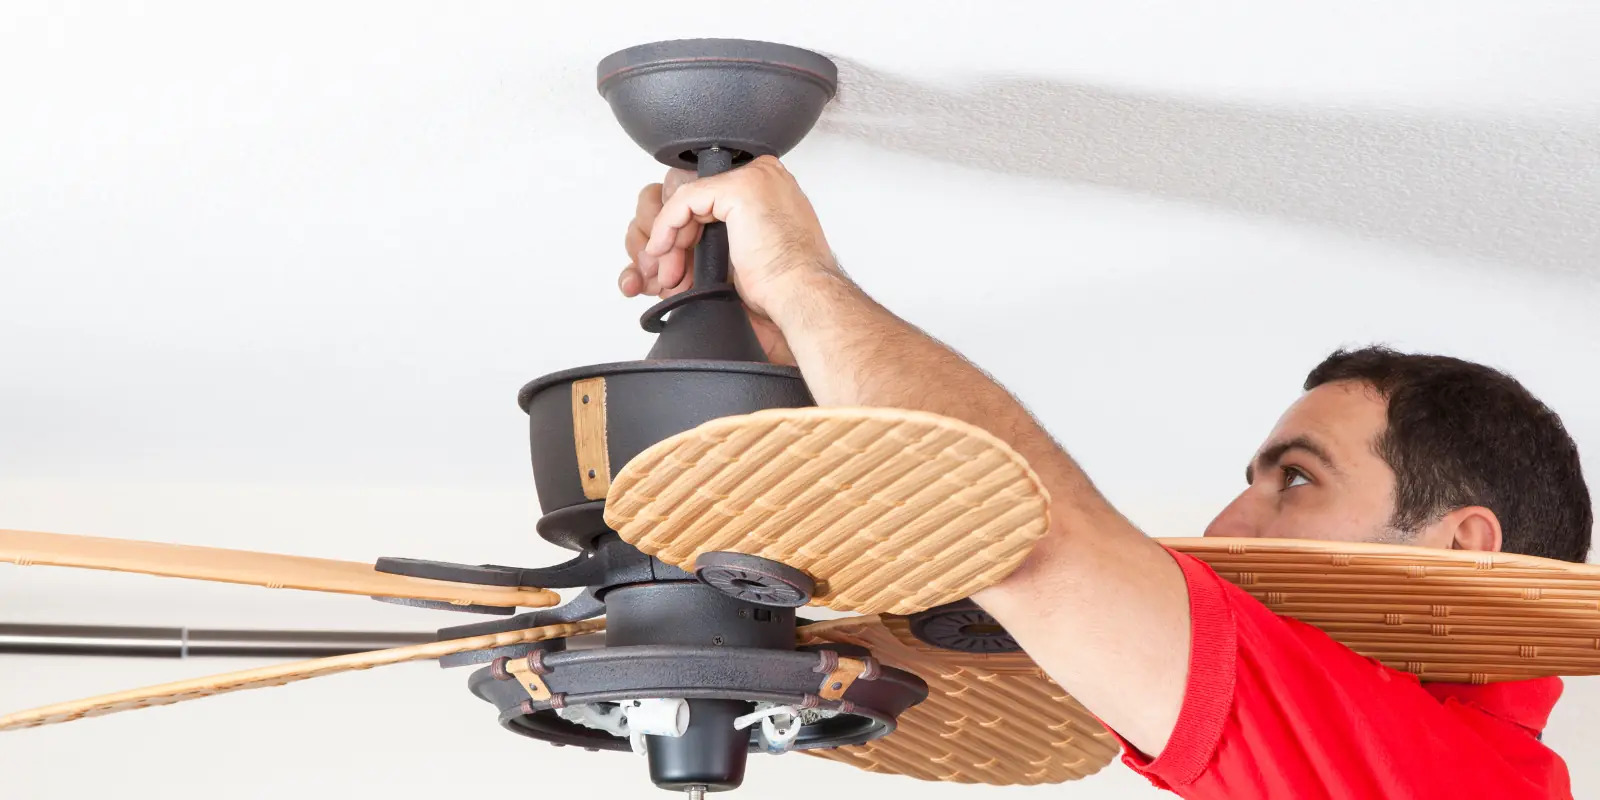
Tools and Supplies To Install Ceiling Fan Without Existing Wiring
To install a ceiling fan without existing wiring, you’ll need specific tools and supplies to complete the installation. Here’s a list of what you’ll typically require:
Tools:
- Wire Stripper
- Circuit Tester
- Stud Finder
- Drill and Drill Bits
- Fish Tape or Wire Snake
- Pliers
- Screwdriver set
- Wire Connectors
- Ladder or Step Stool
- Safety glasses
Supplies:
- Ceiling Fan Kit
- Electrical cable
- Junction box
- Wire nuts
- Electrical tape
- Mounting hardware
- Wire staples or cable clips
- Paintable caulk or putty
- Wire covers
It’s important to note that installing a ceiling fan involves working with electricity and also has dangers of falling, so if you’re not experienced with electrical work, it’s advisable to consult a professional electrician to ensure the installation is done safely and in compliance with local electrical codes.
Steps to Install a Ceiling Fan Without Existing Wiring
Installing a ceiling fan at a right height when there is no wiring is a cautious process. One needs to properly assess the process to install a ceiling fan. Following are the steps to install a ceiling fan without existing wiring:
Electrical Capacity Assessment
Before installing a ceiling fan, it is important to assess the electrical capacity of the room to ensure that it can handle the additional load. You need to check the electrical panel to see if there is enough space and amperage to add another circuit for ceiling fan. You can also consult an electrician to assess your electrical system and provide recommendations.
Gather all Necessary Tools & Equipments
To install a ceiling fan, you will need a variety of tools and equipment, including a stud finder, drill, wire cutters, wire stripper, electrical tape, pliers, saw, and other electrical tools. Having the necessary tools on hand before beginning the installation process will save you time and hassle.
Determine Suitable Location for Installation
The location of the ceiling fan is critical to its efficiency and safety. You need to select a location that is free of obstacles like fire sprinklers, light fixtures, etc. and has enough clearance for the fan blades to rotate without hitting any objects. The ceiling fan should also be installed in a central location for maximum airflow.
The ceiling fan and its brace box needs the support of joists in the ceiling. So, with the help of stud finder you simply need to loacate one or two joists in reference to center of the room. Once you locate the joists you can determine whether to support the brace box with one or two joists and make a pencil mark.
Cut Along The Markings
If you are installing the fan on a single joist, you can simply trace the electrical box and cut the outline using a drywall saw.
If you are installing the fan on two joists, you need to determine the center of the joists and trace the electrical box in the center of these two joists. Cut the outline using a drywall saw.
Running a New Electrical Line
In most cases, you will need to run a new electrical line from the circuit breaker to the location where you want to install the fan. This may involve cutting into walls and ceilings, so it’s important to take proper safety precautions and follow local building codes and regulations.
Installing a Junction Box
A junction box is essential for safely holding the electrical wires and fan bracket. The junction box should be mounted securely to the ceiling joist with screws. You need to ensure that the box is flush with the ceiling surface and centered in the location where you want to install the fan.
If you are installing the box on one joist, you simply need to attch the juction box with screws. However, if you are installing it on two joists, you need to install a brace and saddle in order to hold the weight of fan. Simply, attach the fan to the braces, insert the braces into the opening and finally place the saddle over the braces.
Mounting the Fan Bracket
The fan bracket is used to hold the fan motor in place. You need to attach the bracket to the junction box using screws. Ensure that the bracket is securely mounted and level.
Wiring the Fan
Wiring the fan involves connecting the black and white wires from the electrical line to the corresponding wires on the fan motor. You need to strip the ends of the wires and connect them with wire nuts, ensuring that there are no exposed wires. The green or bare wire should be connected to the grounding screw on the junction box.
Attaching the Blades and Light Kit
Finally, you need to attach the fan blades and light kit (if applicable) to the fan motor. Follow the manufacturer’s instructions carefully to ensure that the fan is assembled correctly.
These are the essential points that you need to consider when installing a ceiling fan where no wiring exists. With proper planning, tools, and knowledge, you can safely and efficiently install a ceiling fan and enjoy its benefits.
FAQs on Installation of a Ceiling Fan Without Existing Wiring
Conclusion
In conclusion, installing a ceiling fan where no wiring exists can be a challenging task, but with the right preparation and knowledge, it is possible to accomplish. By assessing the electrical capacity of the room, selecting a suitable location, and gathering the necessary tools, you can successfully install a ceiling fan without existing wiring. Running a new electrical line, installing a junction box, wiring the fan, and attaching the blades and light kit (if applicable) are the key steps to follow. It is important to prioritize safety, adhere to building codes, and consult an electrician if needed. Once installed, your ceiling fan will provide both comfort and energy efficiency, enhancing the overall ambiance of the room.







Add Comment